
With lockdown I’ve been going back through the archive of old tapes to digitise them. Both stereo and four track tapes. The topic comes up often on the Sound On Sound forum, and I am grateful to Hugh Robjohns and James Perrett there for the advice and discussion over the years. Along with my own practice, I’ve whittled the process down to 12 steps.
1. You will need a decent cassette deck
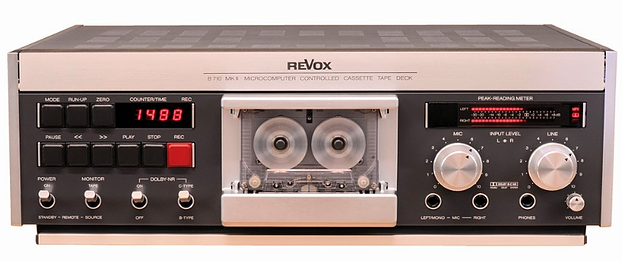
Ideally a standalone hi-fi unit with a line output. These are usually on phono connectors. You can connect this to the mic/ line input of your computer. Even better, use an audio interface so you can optimise the level.
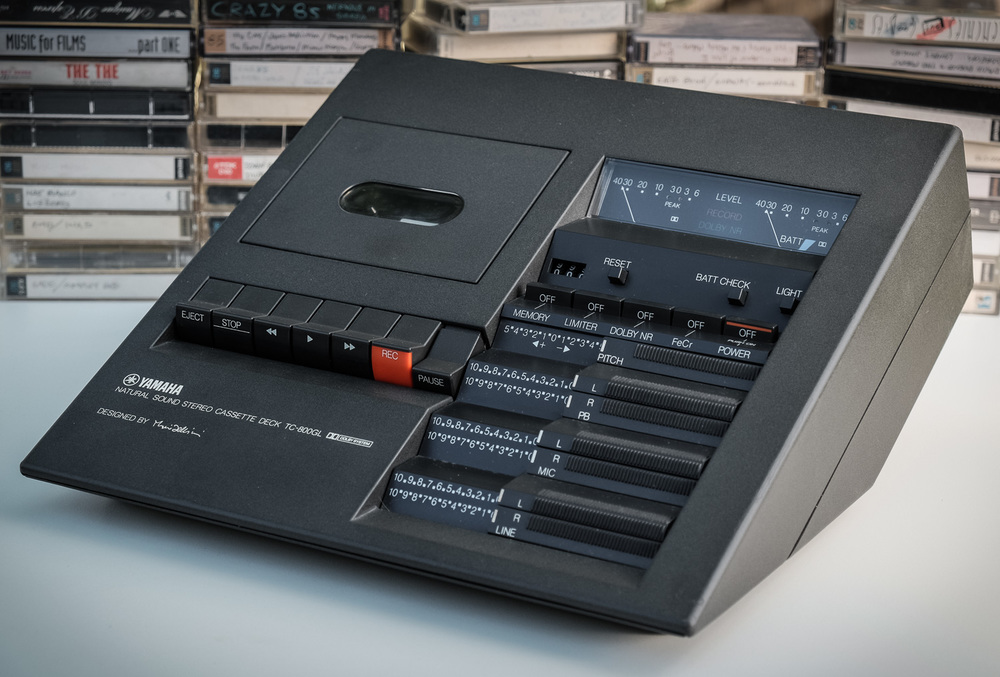
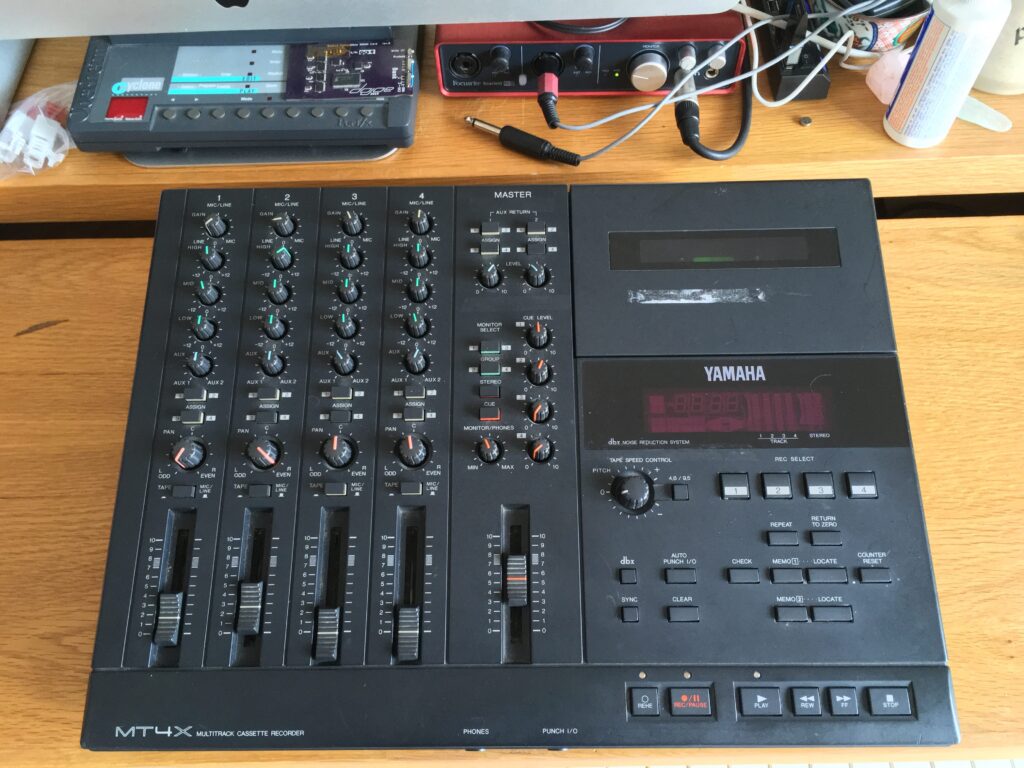
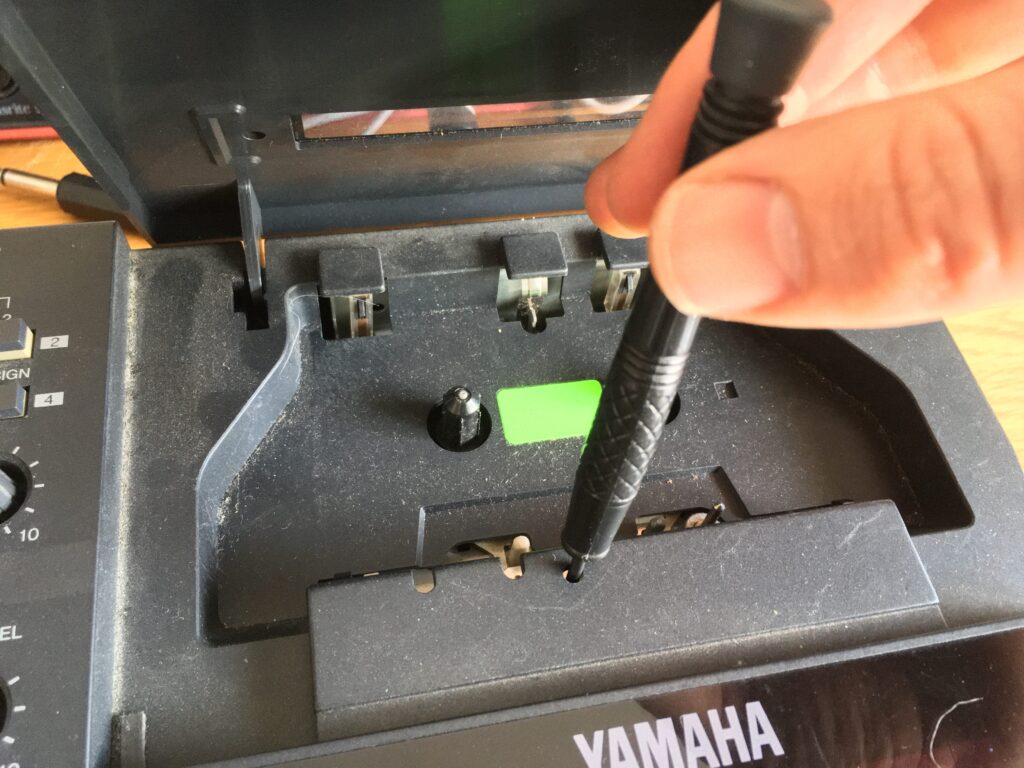
I use a Yamaha MT4X four track. This can play regular cassettes as well as the four track ones. It’s one of the best decks Yamaha made, with a very low noise floor and a frequency response all the way up to 18kHz, out-performing the Tascam and Fostex four track machines. The only machines that are better are the fairly rare Marantz four track recorders.
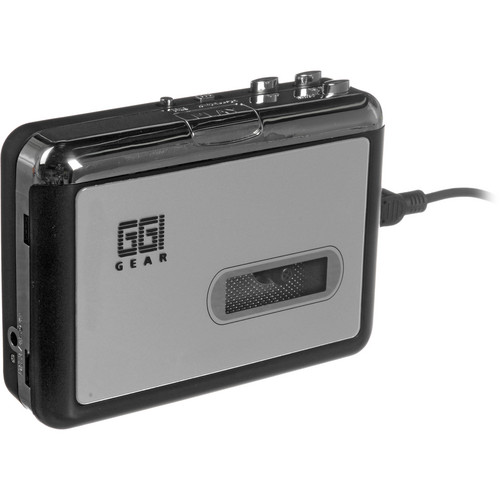
I would advise against the Walkman sized USB players you can get (pictured above). These will be wobbly and noisy with even the best tapes, so you will not get the best out of the tapes you have.
2. Any audio interface will do, even the one built in to the computer
The signal to noise ratio of the average cassette is around 50dB, far worse than any modern digital device. Best case for a recording would be 85dB with noise reduction engaged on a top flight deck (or the Yamaha above) and we’re assuming the cassette will never degrade over time. To put it simply: the quality of any modern digital device will be a lot better than most cassettes. The audio interface I use is a humble Focusrite Scarlett which is around 110dB! This is a very popular model for a reason: it’s reliable, clean and neutral sounding, and best of all Focusrite have very good long term driver support.
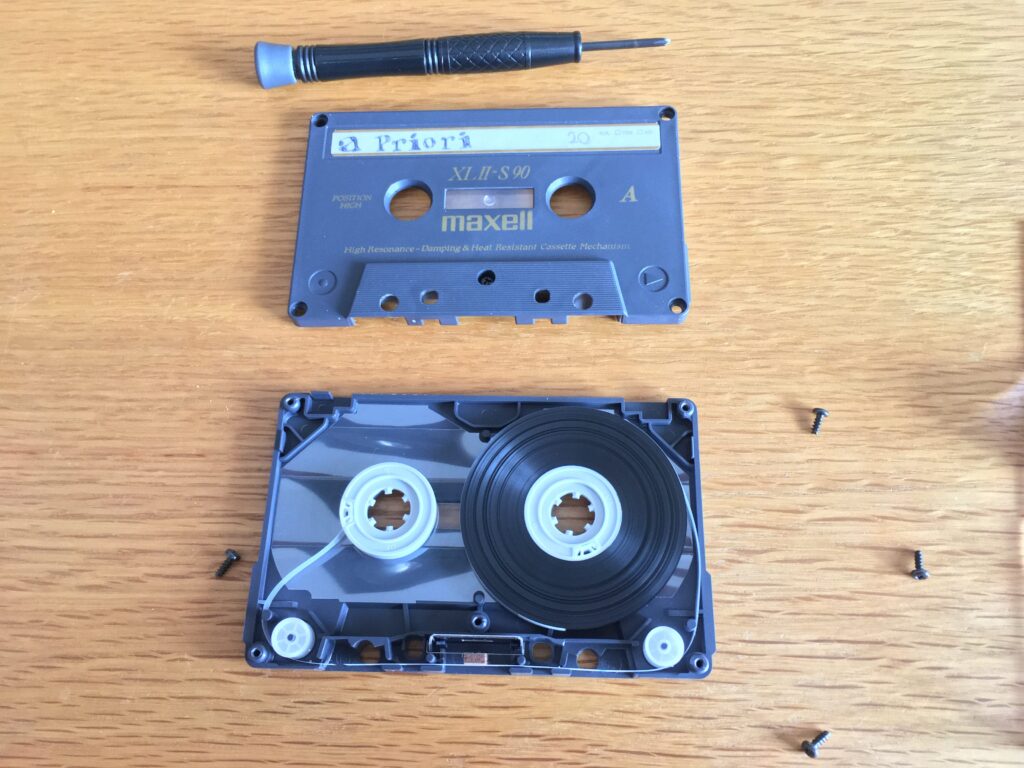
3. Change the shell
There are two good reasons to do this. Firstly, the pressure pad can often become detached or disintegrated. Secondly, to reduce excessive tension causing speed variations and pitch wobbles. The old shell can often lose its lubricant, or maybe was not very good to begin with. Make sure your hands are clean and grease free and work on a large surface with plenty of light. Carefully remove the reels from the old shell and put them into something really good like a Maxell XL-IIS shell.
These pitch wobbles are known as wow and flutter. If it was baked in to the recording, there are plugins that can remove it such as Melodyne Capstan, and the proprietary service Plangent Processes. These are very expensive. The Izotope RX Wow and Flutter module is a little less expensive.
4. Clean the heads
I think we all know about this step, but here are some tips. If the tapes are old and are ferric, you’ll need to do this between each tape you play. Wait about one minute for it to dry, and clean ONLY the metal parts. Don’t use alcohol on the rubber parts of the transport because it will dissolve them eventually.
5. Adjust the head azimuth
We’ll need our ears for this! Listen to the playback with L and R summed to mono. Adjust for maximum treble. If the tape is really bad, boost the treble with an eq so you can hear what little high end there is. Super-tweaky tip: if it was a mono recording, do still record L and R, and combine them to mono to get slightly less tape hiss.
6. Don’t use noise reduction
Even if Dolby was used, consider leaving it off. Why? Here’s the simple explanation. You can actually hear the difference for yourself- playback the tape and switch the NR in and out.
The technical explanation: noise reduction is a good thing. But tapes lose their magnetism over time. This will cause the Dolby playback to operate incorrectly. The circuit will think it is hearing a quiet part of the tape, and apply too much noise reduction. Professional machines let you adjust the level going in to the Dolby circuit to compensate for this.
If that’s too technical for you, just leave the NR switched off and think of it as a free high frequency booster that you can polish with eq later. Most of the time, you will need as much high end as you can get from the tape!
6.1 Caveat
For regular cassettes this idea works fine, but for most four track tapes it won’t work. These more commonly used dbx noise reduction not Dolby. Again, you can hear this for yourself if you switch the dbx in and out as the tape plays. It doesn’t just change the high frequencies, it changes the dynamics as well. It literally makes the music “suck”.
7. Contradicting step 6: do use noise reduction, but not on the tape deck!
This is a tip I got from James Perrett on the Sound On Sound Forum. An even better approach, is to, again, leave the NR off, but this time apply it with a plugin. The only plugin that can emulate Dolby A, B and dbx is U-he Satin. I’ve had great results with the Dolby emulation, not so great with the dbx. Anaxwaves is another great option and it is the only one that can do Dolby C NR.
The tone of the tape will be much nicer because you can adjust the level in the plugin, instead of trying to find a professional deck to do it on. Another big plus is if you denoise (which I will explain in step 8) BEFORE the Dolby plugin, it does a much better job of removing the noise than Dolby can, plus you get more treble back off the tape, with a smoother top end than no NR at all. In my experience this is especially noticeable with cymbals, and the esses in the vocals. I haven’t tried it with dbx.
8. Record all of the tape in one go
Record all of the tape in one go including the silent bits such as the blank leader.
I mean it. Play the tape, hit record in the DAW, and walk away for an hour.
It’s much easier to edit afterwards than sitting there listening to which parts of the tape you want. Make sure to keep the original file un-altered as a backup. I often find I need to go back to these later. Especially if better plugins come along that can improve the sound.
9. Noise removal
This is different from Noise Reduction. NR needs to be encoded in the recording, and decoded on playback (see step 6). Noise removal uses a computer to figure out which part of the signal is noise, and which part is actual audio. I use Izotope RX. If you use Reaper you’re in luck because you have Reafir: Kenny Gioa shows you how in this video.
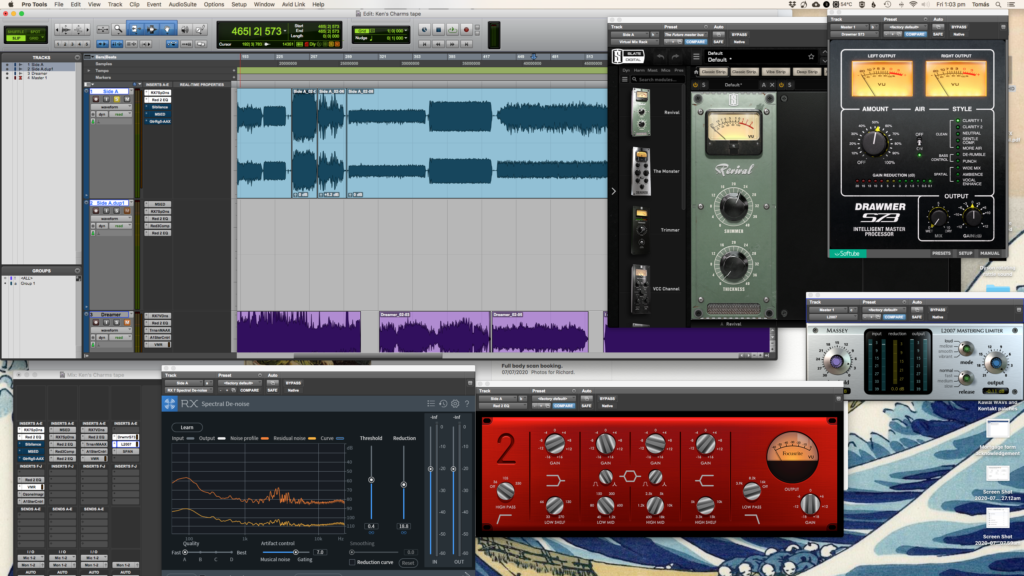
If you can find a section of tape with no audio, just noise, the plugin can “learn” the noise profile, and then “intelligently” remove that from the audio. I usually do a profile for each song, if there’s a run in of no audio. This way, you can deal with noise generated by the gear used to make the recording as well as the tape itself. I also add the blank leader to the profile so Izotope can remove the noise the tape deck itself adds.
10. Use whatever eq you like, and as much of it as you need
Don’t be afraid to use several instances in a row because you will need severe eq especially to restore the top end. I also like to use a multi-band compressor, but it’s up to you what is needed to restore the sound to a useable quality, or enhance, or whatever you choose.
11. Often the top end is not there so you have to fake it.
For various reasons cassettes will not have the brightness and zing that we are accustomed to since the CD came along. Some simple processing can help with this. I find that the free Slate Fresh Air plugin is great for this. I used to use their Revival plugin, that is good too but a bit fiddly to install since it comes in a package. It’s a free and very easy to use aural exciter. Another good free processor is Voxengo GEQ it’s a combined graphic EQ and exciter with a bit more flexibility than the Slate offering.
12. Consider digitising the tape at 44.1kHz, 16 bit
This is not really a big deal but might be a consideration if you have a lot of tapes to digitise. 16 bit will save about 30% of space compared to 24 bit. The majority of cassettes had a dynamic range of around 48dB which equates to only 8 bits. Some combinations of deck, tape and very careful recording could get you a little more but it is rare. As for the sampling rate, only the very best tape decks can go to 18kHz although there are some rare machines that can even get to 20kHz so the standard 44.1kHz is more than enough in most cases.
But it’s probably more convenient to stick with 24 bit and if you are concerned about the quality of the filter in the ADC, a higher sampling rate might be preferable. Given the very poor specs of most cassettes though, I’d suggest it’s probably not worth arguing about!
Bonus tip
I’ve personally found that an essential post processing tool is A-1 Stereo control. It will clean up unstable stereo images caused by slight wobbling of the tape as it passes across the playback head. You can reduce the width to make dropouts less noticeable. The “Safe Bass” feature works by filtering the bass to mono, and you can adjust the overall stereo width as well if you like. If you want to repair dropouts in a more advanced way RX’s Interpolate or Spectral Repair modules can also be useful.