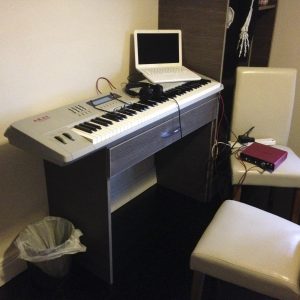
Last minute programming at the hotel
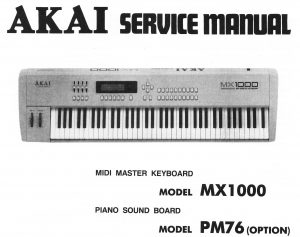
I’m still using an Akai MX1000 76 key weighted master keyboard. This thing was made in 1991. I rescued it from a recycling centre in 2007. It has served me well, it’s even done the Body & Soul music festival! It’s got a comprehensive MIDI spec so I was able to set it up to run an entire show in Apple MainStage remotely- start, stop, patch changes and level controls. Its off-white colour (typical of Akai at that time) looked good with a white MacBook and white T-shirt. I’ve also helped out with a modern re-engineered memory card, so this keyboard would be good for several hundred patch changes with MainStage. Brilliant!

It is old though, so it’s time for some maintenance. Some contacts will have corroded, and some capacitors might be coming to the 30 year mark and so need to be replaced. So I intend to document maintenance for this machine, and share what official documents I have.
First up is the aftertouch repair guide from the Lynxxx website, which is currently down for maintenance ’til 2040, apparently! Very funny.
Problem: Aftertouch on my Akai MX1000 Midi Master Keyboard is not working
Possible cause 1: Aftertouch cable disconnected.
During transport, the flat plastic strip that connects the aftertouch pressure sensor to the internal printed circuit board may have shaken loose. Gently insert the strip back into the connector.
Possible Cause 2: Aftertouch cable worn.
When the cable has been jammed into the connector roughly a couple of times, the leads on the cable may have worn. You can try cleaning them with a qtip and some alcohol. If the leads are damaged, cut a few millimeters of the cable and reinsert it.
Problem: Aftertouch on my Akai MX1000 requires extreme pressure on the keys
Possible cause: Aftertouch pressure sensor strip corroded.
After some years, the leads “inside” the aftertouch pressure sensor strip will start corroding, forming a thin non-conductive layer that degrades aftertouch performance.
Solution:
1. Open the Akai
Remove the upper row of screws from the back of the Akai
MX1000. Remove the screws holding the top cover down. There
are three screws located on the right in a mirrored L formation and
five more on the left that are also in a (normal) L formation. You
may have to remove the two screws above the small rim
underneath the board too. You can now gently open the upper part
of the Akai MX1000 which will expose the internal circuitry and
keyboard springs etc. (I will add pictures of this procedure later)
2. Disconnect and remove the keyboard
Disconnect the flat cable on the mainboard. Rest the top cover
against something so it cant fully flip to the other side once we
remove the wire holding it. Remove the four screws holding the
small metal support in the middle of the Akai (that has a ground
wire on it holding the top cover). You need to remove this in order
to be able to take out the keyboard. Remove the large screws on
the bottom of the Akai that have rings around them. These hold
the keyboard itself in place inside the MX1000 casing. Remove
the remaining screws on the left lower side of the Akai that are
supporting the left side-panel of the MX1000. You can now gently
move this section (including the mod and bend wheels) a few
inches to the left, allowing you to lift up the keyboard from the
chassis.
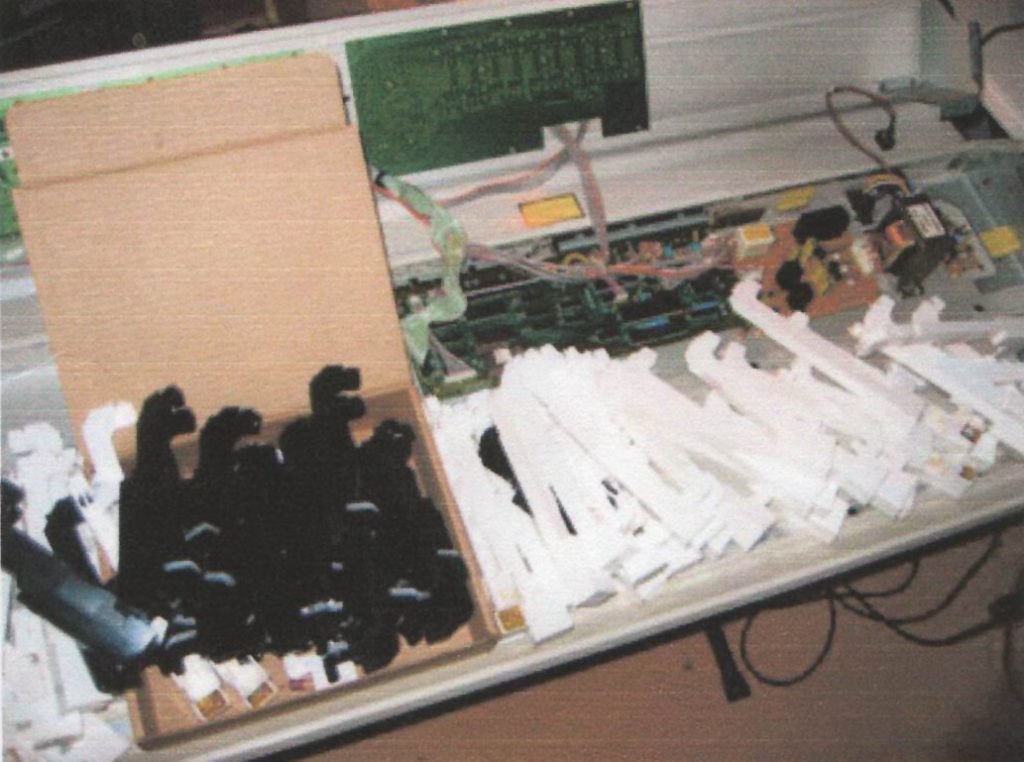
3. Remove the keys
Remove the springs. Gently insert a screwdriver in the back ring of
the spring and remove it Be careful. These little bastards will
easily hit you in the eye if you don’t pay attention. Now remove the
keys. Start with the white keys first, then do the black ones.The
first key on the left is the “E”, marked with a double “EE” sign to
signify the first key (last key is signed “GG”, all others have single
letters). You can remove the keys by slightly shifting them towards
you and then lifting the ends. If they get stuck, give the little white
plastic hooks inside a little push.
4. Store the stuff
Make sure you keep all the keys and springs together in the same
place. Parts are hard to find, so you don’t want to lose anything
here.
5. Disassemble aftertouch strip
Once all the keys have been removed you will be able to gently
remove the upper layer of the aftertouch pressure sensor. This is
the white felt strip on the front part of the top. The top layer
consists of a felt strip glued to a plastic strip with some white
conductive material which is glued to the bottom layer with a sticky
Post-It like glue. You can easily remove this layer and press it
back on later.
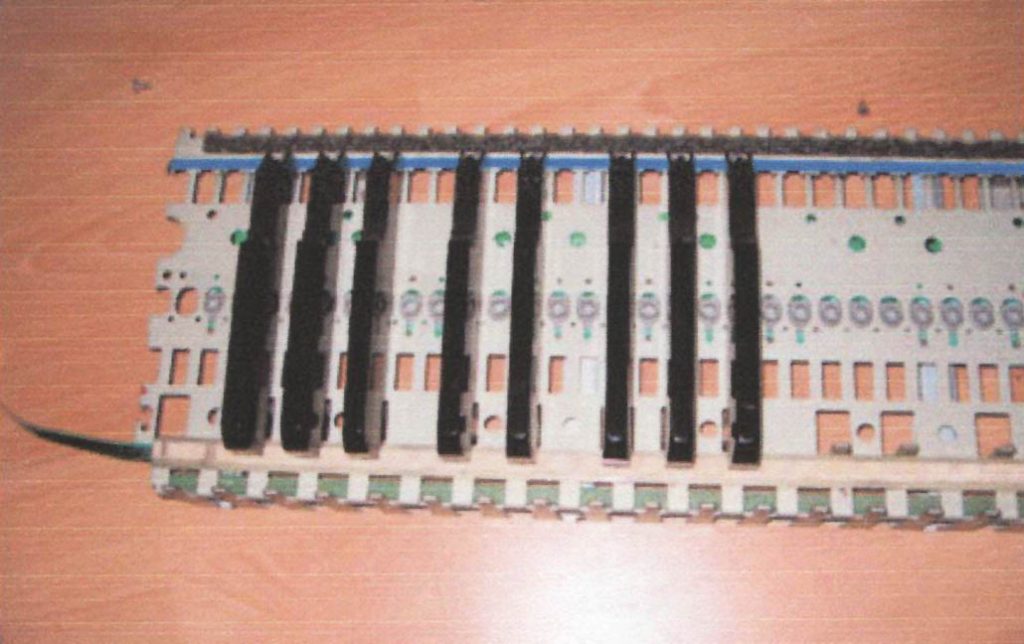
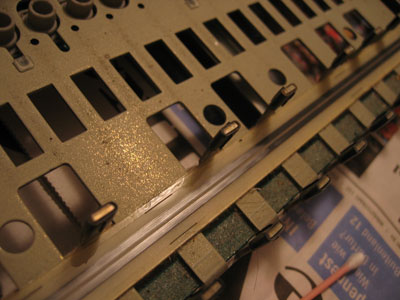
6. Clean the pressure sensor
Once you have removed the top layer of the strip, you should be
able to see the two metal leads that acre causing the problems.
use a q-tip with some alcohol to remove the thin black film on top
of the grey/silver coloured leads. You may have to repeat this
process a couple of times until the strip stops colouring the QTips.
Don’t force it though. If you rub it too much you will damage the
strip beyond repair :-(. Gently rub the strip with some dry cotton
QTips to make sure everything is properly cleaned. Note the
difference between cleaned and corroded area in the picture. Wait
until everything is completely dry and free of any cleaning alcohol.
Now gently press the top layer back onto the pressure sensor.
Check the cable (see above) and reinsert the keyboard into the
Akai MX1000 case. Reconnect the flat cable, insert all the screws
into their original locations and close the cover.
7. Test it!
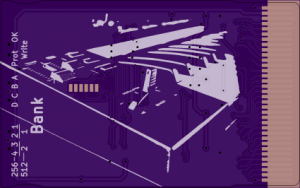
Select the System Menu and press Transmit. The display will now
show all outgoing MIDI data. If you press a key a little harder than
normal you should see the aftertouch messages scrolling by. You
can now assume your Mighty Marvel Pose #38 :-).