Sound Design for Arturia CZV Synthesizer plugin

So after a few months under a Non Disclosure Agreement, I can talk about the new Arturia CZV plugin because it has been released for a few weeks now.

Arturia found me originally because of my long-running blog post all about the Casio CZ series of synthesizers which you can read here.

Just before the release, Arturia interviewed me for their Sound Designer page, but I cannot wait to talk to you all about this so I have published it here. I also found an old photograph of my first studio, which I talk about towards the end. So I think this could be interesting for all you music technologists out there!

Arturia: What is your favourite preset and why did you choose it?

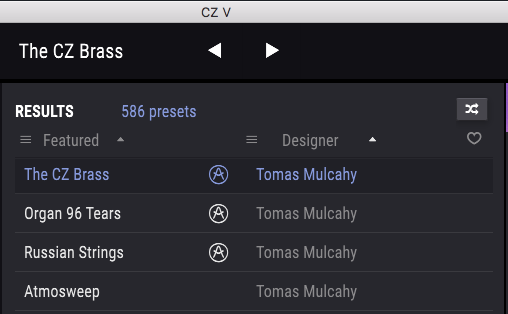
My favourite patch in this set is called Atmosweep. It originated from a set of patches that were accidentally randomised when my CZ RAM cartridge ended up in the washing machine! Amazingly it still worked! After that I worked on the sound for a long time to get the release and atmosphere. The patches from the washing machine used the resonant waves in ways I hadn’t thought of so it was fun to explore this happy accident. With CZ-V my archive of patches since 1992 has really come back to life. Several years ago I deep-sampled 102 of my favourite CZ patches for Kontakt (you can still hear those here). Now I can finally put those away and use the sounds in a much more organic way in CZV with the Macros.

I was stoked to see three of my sounds in the “Featured” list!

Arturia: What are the main strengths of the CZV according to you? Did some specific features or aspect positively surprised you in the instrument?

Tomás: Yes I was pleasantly surprised that the real character of the hardware is right there in CZV! And to answer your question I think there are four main strengths, in order of importance:

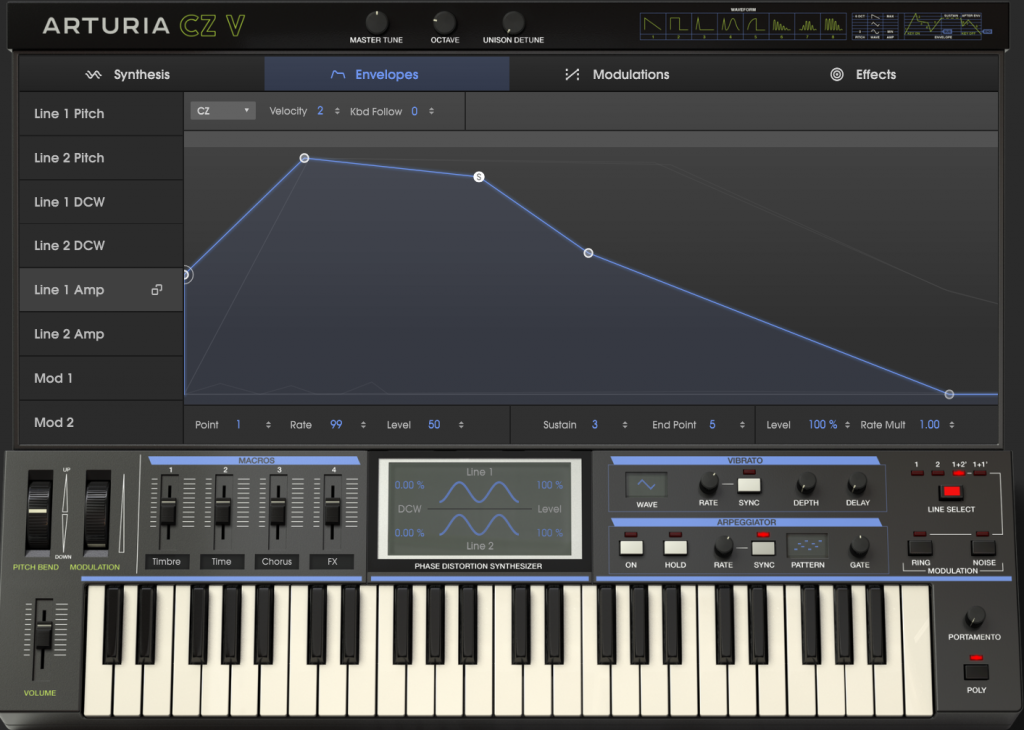
1.    The percentage level control on each envelope really opens up the possibilities in a very big way, allowing the CZV to respond to the player in a much more organic way from modulation. It also makes it much easier to have bright or dark within the patch. Even on the CZ-1 with its limited velocity modulation, I would make several versions of a patch going from dark to bright, in order to get this same depth. It was much more laborious than it is with CZV. Now it’s so easy to tweak the patch so that it sits right in your track. I love it!

2.    Of course the DCW level can now be swept in real time like an analogue filter, not just with the envelope. This gives a sound unique to the CZ. It’s quite different to sweeping the harmonics on an FM synth (or an analogue synth) and can really warp sounds in a spectacular way, while still keeping the flavor of the basic patch. 

Analog Lab library of programmers

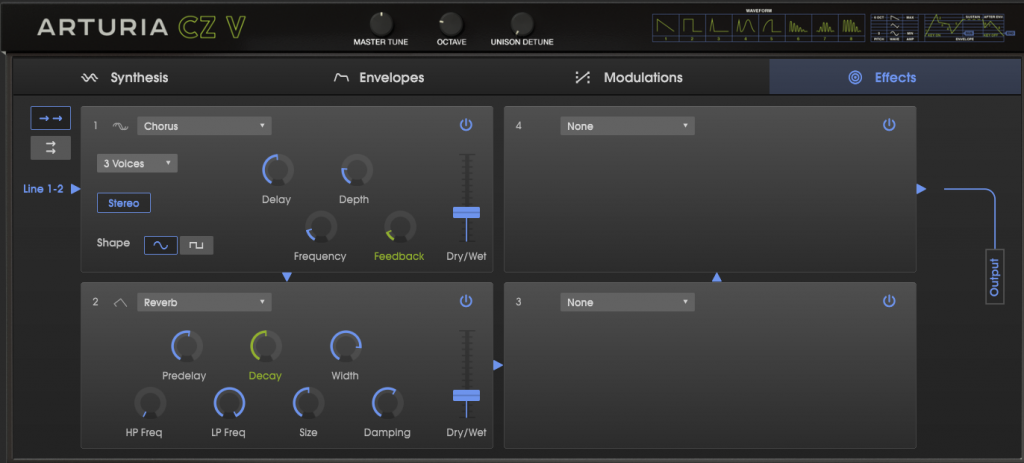
3.    I love the chorus. With one voice it is very much like the hardware CZ, and with two or three voices it is lush like the Roland Juno chorus. It is pretty much the perfect chorus for a synth!

4.    When I got the initial spec from you, it was the looping envelopes that most excited me. I would have killed for this feature on the hardware, back in the day. It took me a while to figure them out, but I did, with relative ease, and they are hugely useful.

Arturia: What was your approach regarding your sound design work ? Had you a specific type of sounds in mind? A specific method?

The old CZ Librarian running in Sheepshaver VM

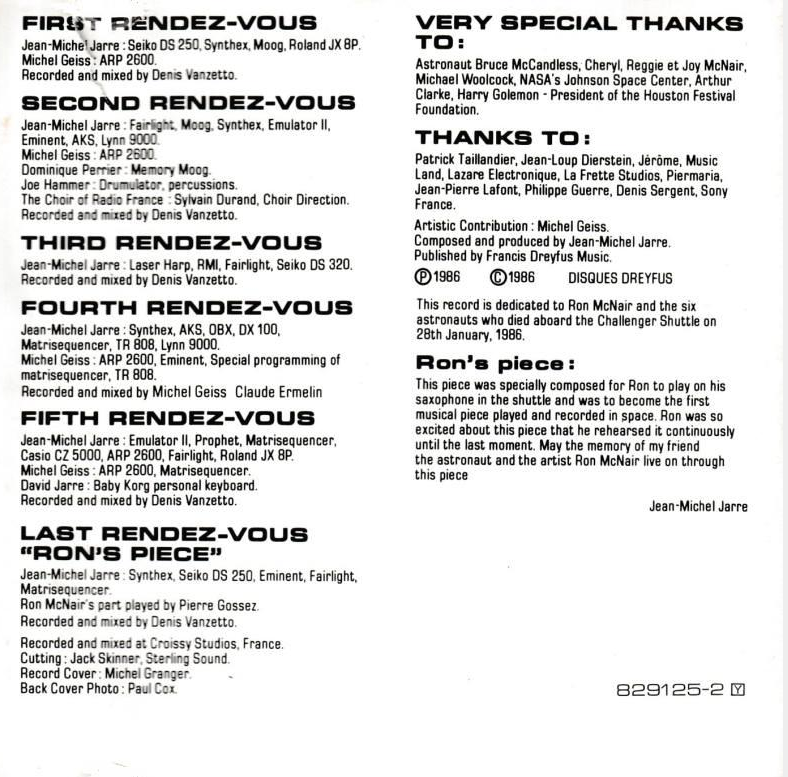
Tomás: There are two answers to this, because I have been using a CZ since 1992, starting with the CZ-5000 and ending up eventually with the CZ-1. Back then it was my only polysynth. With the sequencer it was like an affordable workstation, so I wanted it to make every sound possible. An impossible goal, but a great way to learn everything about a synth. I wanted the sounds that I heard on classic records, such as Jarre’s Rendezvous where he uses the Fairlight and the Synthex as well as the CZ-5000. I would spend a lot of time trying to get these classic sounds on the CZ, and learning what the limits and unique qualities of the synth were.

Later when I had more synths I used the CZ-1 for its strengths. To me it is a wonderful bass machine. I love pad sounds too, and the CZ does these with a unique character. You won’t get wide soft MemoryMoog pads, but you can get some very atmospheric stuff using the resonant waves with the envelopes for movement within the sound. Nothing else sounds quite like it.

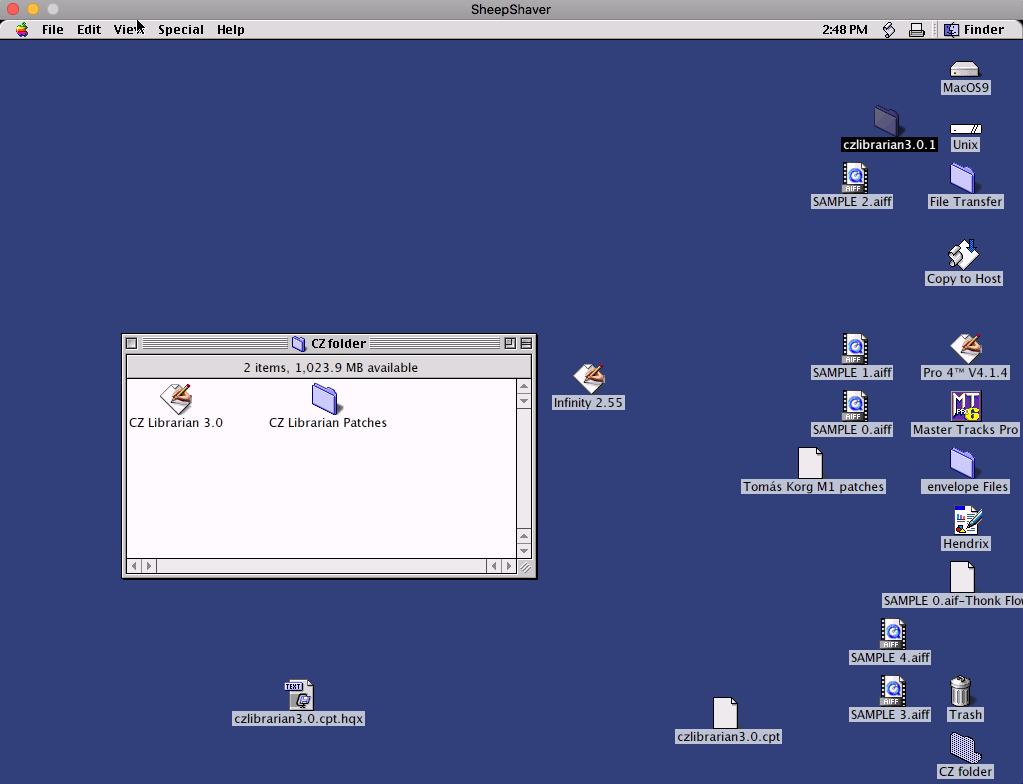
I always carefully backed up my patches and kept them well organized with descriptive names, first with cassettes and later with SysEx on the Apple Mac. So I was able to load my library into CZV. It’s so cool to see the patch names you made years ago coming up in the list!

The second answer is that with CZV it is more of an adventure. This is because it is exactly the same as the old hardware and at the same time is a very up to date synth with all the features we take for granted in software today. So the method was simply to explore and have fun! Several times I started from an initial patch and just explored the new possibilities, especially with the extra Mod Envelopes, the more detailed velocity modulation and the Custom Waveform.

But more often, I was able to take an old patch and make it more like what I wanted it to be from those classic records. Unison Mode really made that happen in a big way, and again the detailed modulation and the live interaction with the Macros made the sounds much more alive than is possible on the original machine.

Now the CZ is like a MiniMoog or a Prophet 5, with the sound-morphing easily integrating with your performance in a truly organic way. Thanks so much to the Arturia team for making the dreams of 18 year old me come true!

AKAI MX1000 Aftertouch repair

Last minute programming at the hotel

I’m still using an Akai MX1000 76 key weighted master keyboard. This thing was made in 1991. I rescued it from a recycling centre in 2007. It has served me well, it’s even done the Body & Soul music festival! It’s got a comprehensive MIDI spec so I was able to set it up to run an entire show in Apple MainStage remotely- start, stop, patch changes and level controls. Its off-white colour (typical of Akai at that time) looked good with a white MacBook and white T-shirt. I’ve also helped out with a modern re-engineered memory card, so this keyboard would be good for several hundred patch changes with MainStage. Brilliant!

It is old though, so it’s time for some maintenance. Some contacts will have corroded, and some capacitors might be coming to the 30 year mark and so need to be replaced. So I intend to document maintenance for this machine, and share what official documents I have.

First up is the aftertouch repair guide from the Lynxxx website, which is currently down for maintenance ’til 2040, apparently! Very funny.

Problem: Aftertouch on my Akai MX1000 Midi Master Keyboard is not working

Possible cause 1: Aftertouch cable disconnected.

During transport, the flat plastic strip that connects the aftertouch pressure sensor to the internal printed circuit board may have shaken loose. Gently insert the strip back into the connector.

Possible Cause 2: Aftertouch cable worn.

When the cable has been jammed into the connector roughly a couple of times, the leads on the cable may have worn. You can try cleaning them with a qtip and some alcohol. If the leads are damaged, cut a few millimeters of the cable and reinsert it.

Problem: Aftertouch on my Akai MX1000 requires extreme pressure on the keys

Possible cause: Aftertouch pressure sensor strip corroded.

After some years, the leads “inside” the aftertouch pressure sensor strip will start corroding, forming a thin non-conductive layer that degrades aftertouch performance.

Solution:

1. Open the Akai
Remove the upper row of screws from the back of the Akai
MX1000. Remove the screws holding the top cover down. There
are three screws located on the right in a mirrored L formation and
five more on the left that are also in a (normal) L formation. You
may have to remove the two screws above the small rim
underneath the board too. You can now gently open the upper part
of the Akai MX1000 which will expose the internal circuitry and
keyboard springs etc. (I will add pictures of this procedure later)

2. Disconnect and remove the keyboard
Disconnect the flat cable on the mainboard. Rest the top cover
against something so it cant fully flip to the other side once we
remove the wire holding it. Remove the four screws holding the
small metal support in the middle of the Akai (that has a ground
wire on it holding the top cover). You need to remove this in order
to be able to take out the keyboard. Remove the large screws on
the bottom of the Akai that have rings around them. These hold
the keyboard itself in place inside the MX1000 casing. Remove
the remaining screws on the left lower side of the Akai that are
supporting the left side-panel of the MX1000. You can now gently
move this section (including the mod and bend wheels) a few
inches to the left, allowing you to lift up the keyboard from the
chassis.

3. Remove the keys
Remove the springs. Gently insert a screwdriver in the back ring of
the spring and remove it Be careful. These little bastards will
easily hit you in the eye if you don’t pay attention. Now remove the
keys. Start with the white keys first, then do the black ones.The
first key on the left is the “E”, marked with a double “EE” sign to
signify the first key (last key is signed “GG”, all others have single
letters). You can remove the keys by slightly shifting them towards
you and then lifting the ends. If they get stuck, give the little white
plastic hooks inside a little push.

4. Store the stuff
Make sure you keep all the keys and springs together in the same
place. Parts are hard to find, so you don’t want to lose anything
here.

5. Disassemble aftertouch strip
Once all the keys have been removed you will be able to gently
remove the upper layer of the aftertouch pressure sensor. This is
the white felt strip on the front part of the top. The top layer
consists of a felt strip glued to a plastic strip with some white
conductive material which is glued to the bottom layer with a sticky
Post-It like glue. You can easily remove this layer and press it
back on later.


6. Clean the pressure sensor
Once you have removed the top layer of the strip, you should be
able to see the two metal leads that acre causing the problems.
use a q-tip with some alcohol to remove the thin black film on top
of the grey/silver coloured leads. You may have to repeat this
process a couple of times until the strip stops colouring the QTips.
Don’t force it though. If you rub it too much you will damage the
strip beyond repair :-(. Gently rub the strip with some dry cotton
QTips to make sure everything is properly cleaned. Note the
difference between cleaned and corroded area in the picture. Wait
until everything is completely dry and free of any cleaning alcohol.
Now gently press the top layer back onto the pressure sensor.
Check the cable (see above) and reinsert the keyboard into the
Akai MX1000 case. Reconnect the flat cable, insert all the screws
into their original locations and close the cover.

7. Test it!
Select the System Menu and press Transmit. The display will now
show all outgoing MIDI data. If you press a key a little harder than
normal you should see the aftertouch messages scrolling by. You
can now assume your Mighty Marvel Pose #38 :-).

The Album Tracks Part 1: Orchestrion

This is a combination of atmospheres and sounds from the 1870s and the 1970s. The Orchestion of the title is an Imhof & Mukle Orchestrion Music Machine. It uses a wooden barrel with pins on it to open valves in over 100 pipes that are built like woodwind instruments such as clarinets and flutes. Basically, a large version of the barrel you would see in a music box. To run it, you wind a weight up to the top of the machine, and as it runs down it drives the barrel and pumps the air through the pipes. This one was located in Dunkathel House, where I worked in the recording studio. Here’s a picture of the actual machine in the house, courtesy of the RTÉ archive.

Orchestrion featured on Treasure Ireland (1993)

Orchestrion featured on Treasure Ireland (1993)

Continue reading